Installing lockers might seem straightforward, but doing it right can make all the difference in safety, longevity, and overall facility efficiency. A properly installed locker system doesn’t just look professional; it helps prevent tip-overs, minimizes maintenance issues, and ensures smooth daily use for years to come. Whether it’s a school hallway, a busy gym, a corporate locker room, or a community recreation center, the way your lockers are set up directly affects workflow, durability, and user experience.
This guide is designed for facility managers, contractors, and business owners who want to install lockers correctly the first time. You’ll learn everything from planning your layout and preparing the site to anchoring, leveling, inspecting, and maintaining your lockers for optimal performance.
And if you’d rather skip the heavy lifting, stay tuned. At the end, we’ll share how Source Equipment Company Inc. can help you with professional locker installation and expert guidance tailored to your facility.
What You’ll Learn in This Blog
Before you begin unpacking your new lockers, proper planning is essential. A few hours of preparation can save days of rework, prevent costly mistakes, and ensure your installation meets all safety and code requirements. Here’s how to set yourself up for success.
Start by thoroughly assessing the area where the lockers will be installed.
Selecting the right locker style and materials will impact performance, durability, and appearance.
Locker layouts must balance functionality with accessibility and safety.
Once specifications are finalized, plan your procurement and schedule.
Effective pre-installation planning ensures that when installation day arrives, every measurement, anchor point, and part is ready to go—keeping your project on time, within budget, and built to last.
Having the right tools, materials, and site conditions ready before installation begins is critical for a smooth workflow. Proper preparation minimizes downtime, ensures safety, and helps achieve a high-quality, level locker installation that will last for years.
Before your team arrives, make sure you have all essential tools and fasteners on hand. Missing or incorrect equipment can slow progress and compromise alignment accuracy.
Essential Tools:
Optional but Recommended Tools:
Having these tools ready ensures that installers can maintain consistency, accuracy, and safety throughout the process.
In addition to the lockers themselves, several components and accessories are needed for a complete and professional installation.
Core Materials:
For Electronic or Specialty Lockers:
Keeping all parts clearly labeled and staged by run or section prevents confusion during assembly and ensures every component is installed in the correct location.
Preparing your installation site sets the tone for the entire project. A clean, organized, and clearly marked workspace makes each step more efficient.
Always start layout and leveling from the highest point on the floor. This minimizes shimming and keeps locker rows perfectly aligned.
Before starting any locker installation, safety and compliance should be top priorities. Adhering to proper procedures protects both the installation crew and future users while ensuring your facility meets all relevant building and accessibility standards.
Every installation should begin with a review of safety requirements and the proper use of personal protective equipment (PPE).
A safe work environment not only protects workers but also helps maintain project efficiency and quality control.
Also Read: What to Do if Racking is Damaged: Quick Fixes & Safety Measures?
Locker systems must be anchored correctly to prevent tipping or collapse.
If your lockers include electronic locks or power accessories, treat these as you would any electrical installation.
These precautions help prevent electrical hazards, short circuits, and damage to electronic components.
Compliance isn’t just about good practice, it’s the law. Locker installations must meet ADA and local building code standards to ensure accessibility and safety for all users.
With all planning and preparation complete, you’re ready to begin installing your lockers. Follow these steps carefully to ensure a safe, stable, and professional result that meets both functional and esthetic standards.
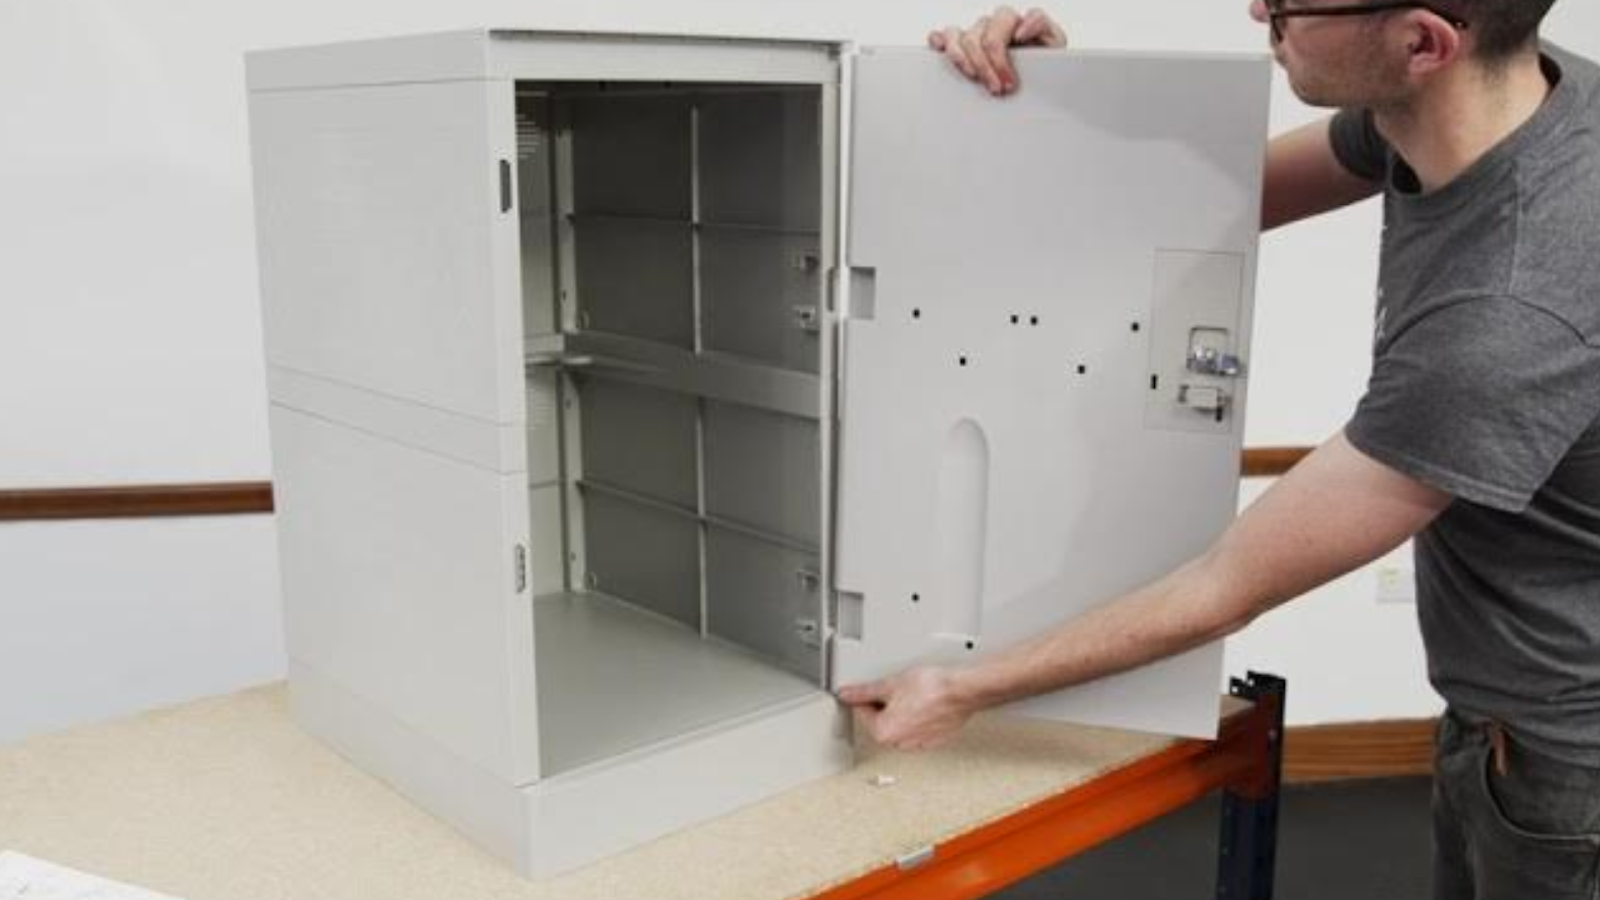
Carefully unpack all locker components and verify that the shipment matches your order. Check each piece for dents, scratches, or missing hardware. Organize all components by size, type, and location to keep the installation area efficient and avoid confusion later.
Mark your layout using chalk lines or a laser level to define the back and side reference points for each locker run. This ensures straight, square placement throughout the installation. Double-check measurements against your floor plan before anchoring anything in place.
Set the bases or legs in position, starting from the highest point on the floor. Use shims to achieve perfect level front-to-back and side-to-side. A level base ensures every locker above it aligns correctly and doors operate smoothly.
Place the first locker at your starting point—this “control unit” establishes the benchmark for the entire row. Make sure it’s perfectly plumb, level, and square before anchoring it to the wall or floor according to manufacturer specifications. Re-check alignment before tightening anchors fully.
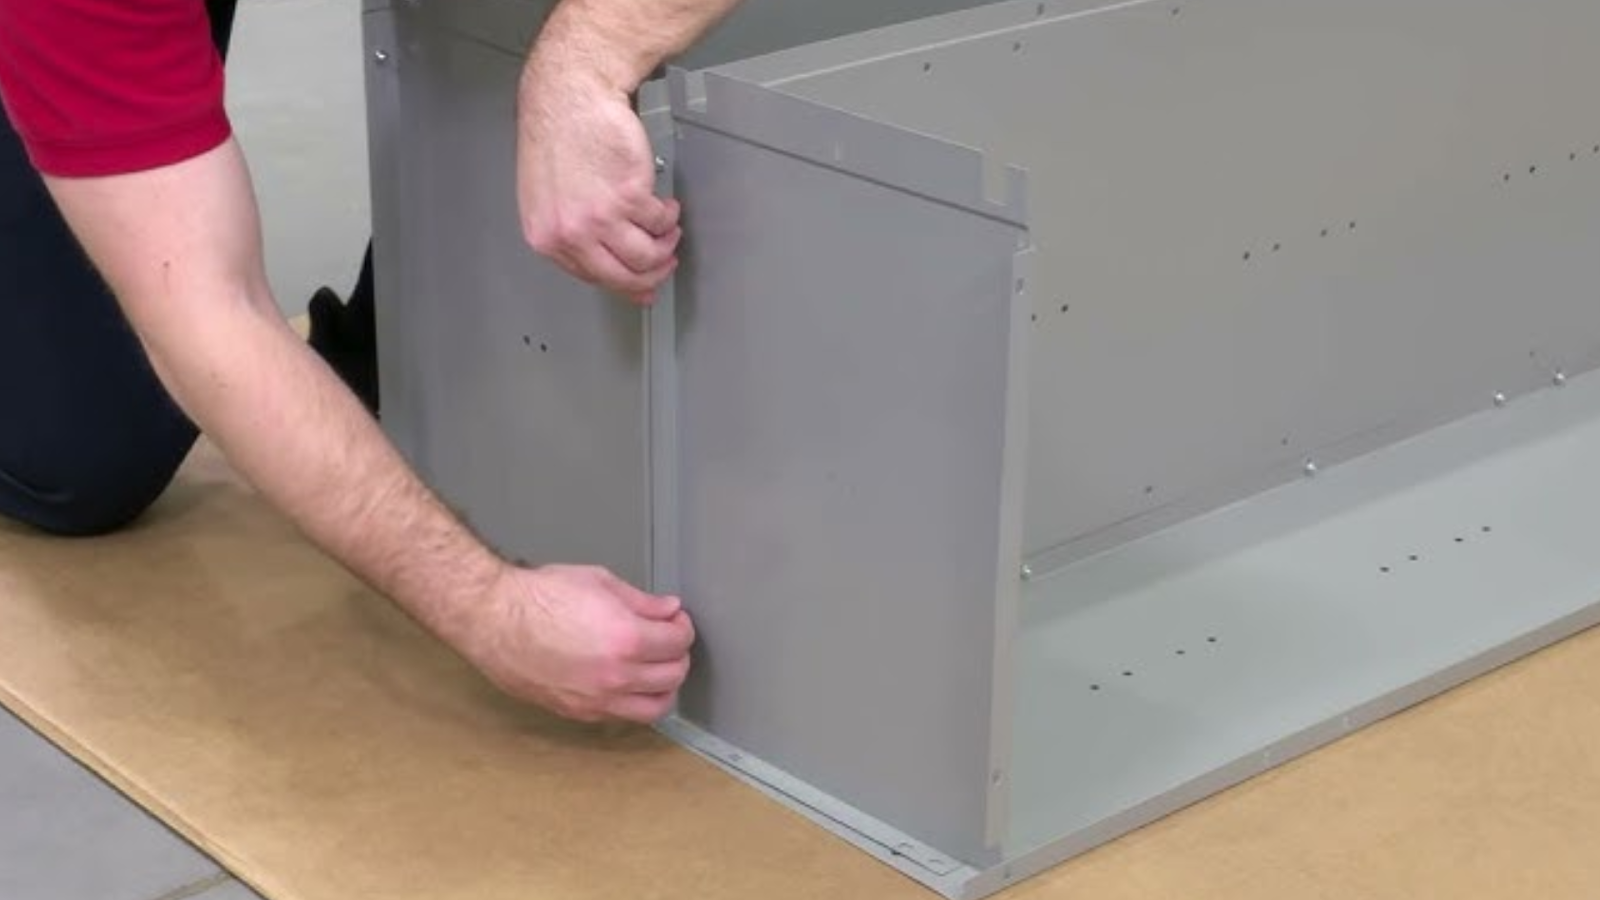
Continue adding lockers one by one, aligning each new unit with the previous one. Use clamps to hold lockers in position as you connect them with bolts or screws through the pre-drilled holes. Periodically verify level and plumb to maintain uniform alignment across the run.
Once several lockers are in place and aligned, anchor the entire run securely to the floor and wall using the correct fasteners for your substrate. Follow specified spacing and embedment depth guidelines to ensure long-term stability and safety.
Add sloped tops, flat tops, fillers, and end panels as needed to complete the assembly. Scribe fillers to fit snugly against walls and ceilings for a clean, professional finish. Install accessories such as hooks, shelves, and number plates during this stage.
Attach the lock bodies and handles according to manufacturer instructions. For electronic locks, route wiring neatly through designated channels or conduits, connect power supplies, and program initial codes. Test each lock to confirm smooth operation.
After all lockers are assembled, recheck the entire installation with a laser level. Make final adjustments with shims as needed, then torque all fasteners to the recommended specifications. Cap any exposed anchors or bolt heads for a polished appearance and added safety.
Remove protective films, vacuum interiors, and wipe down locker surfaces. Touch up any minor scratches or scuffs with matching finish paint. Conduct a full inspection to ensure all doors open smoothly, locks function correctly, and gaps between lockers are consistent.
By following these steps carefully, you’ll create a locker installation that’s stable, compliant, and visually clean, ready for years of reliable use.
Also Read: How to Create a Safer Work Environment with Better Equipment
Even experienced installers can make errors that lead to misaligned lockers, safety concerns, or costly rework. Knowing the most common mistakes and how to prevent them will help ensure your installation is efficient, compliant, and built to last.
1. Skipping the “Control” Unit: The first locker you install, known as the control unit, sets the alignment for the entire run. Skipping this step or rushing through it often results in lockers that drift out of level as you progress.
2. Anchoring Before Verifying Alignment and Level: Anchoring lockers too early is one of the fastest ways to lock in errors. Before drilling or tightening any anchors, check each unit’s level and plumb alignment across all axes. Once everything is square and even, secure the anchors.
3. Ignoring Floor Flatness Tolerances: Uneven flooring can cause locker banks to appear crooked or create gaps between doors. Always check the floor’s flatness before installation, and use shims as needed to maintain uniform height and door operation.
4. Overlooking ADA and Accessibility Requirements: Failing to account for ADA guidelines can lead to compliance violations and frustrated users. Make sure at least one locker in each bank meets accessibility standards for height, reach range, and clear floor space. Also, maintain adequate aisle widths for easy movement throughout the locker area.
5. Mixing Incompatible Fasteners or Ignoring Torque Specifications: Using the wrong fasteners, or not tightening them to the correct torque, can weaken the entire installation. Always use manufacturer-approved hardware and follow the specified torque values.
Avoiding these mistakes keeps your installation process smooth, professional, and compliant, and ensures the lockers perform exactly as designed for years to come.
Before you even pick up a drill, success starts with having the right lockers, the right design, and the right supplier, and that’s where Source Equipment Company Inc. comes in.
From heavy-duty welded wire mesh lockers to steel shelving, pallet racks, workbenches, and mezzanines, Source Equipment offers everything needed to outfit a facility from the ground up. Their storage lockers are made from 8-gauge welded wire mesh and 100% U.S.-sourced steel, delivering unbeatable strength, visibility, and ventilation—perfect for schools, gyms, and industrial settings where durability matters most.
Planning a locker installation can be overwhelming, measuring space, choosing the right configuration, and ensuring compliance all take time. The team at Source Equipment makes it simple by offering personalized product guidance and layout assistance. They’ll help you match locker styles and materials to your facility’s exact needs, ensuring your project stays compliant and efficient from day one.
Every product they supply is chosen for performance, safety, and long-term reliability. Whether you’re adding a few lockers to a fitness center or designing an entire employee changing area, their equipment is engineered to withstand heavy daily use without compromising function or aesthetics.
Partnering with Source Equipment means you’ll have access to top-tier storage solutions and expert insight at every stage, from planning to procurement.
Installing lockers the right way isn’t just about securing panels and bolts, it’s about creating a system that’s safe, durable, and efficient for everyone who uses it. From planning and site preparation to final inspection and maintenance, every step contributes to a locker setup that looks professional and performs reliably for years.
By following this guide, you can approach your next locker installation with confidence, knowing how to avoid costly mistakes, maintain compliance, and deliver long-term value to your facility. And when it comes to choosing high-quality lockers and storage equipment, it pays to start with a trusted source.
Source Equipment Company Inc. has been helping facilities nationwide since 1989, offering premium storage solutions, expert product guidance, and unmatched reliability. Whether you’re outfitting a school, gym, or industrial space, their U.S.-made welded wire lockers and support team can help you build a storage system that stands the test of time.
If the floor surface is uneven, begin installation at the highest point in the room. Use shims under bases or legs to achieve a level starting point, and continuously check alignment with a laser level as you proceed. Addressing unevenness early helps avoid visible misalignments and door binding issues later.
ADA compliance requires that at least one locker in each bank is accessible, with a minimum 30" x 48" clear floor space and operable parts no higher than 48 inches from the floor. Aisles should also allow sufficient turning space. Before installation, review your layout and confirm these measurements to ensure accessibility for all users.
For locker rooms, pools, or other humid spaces, HDPE (high-density polyethylene) or phenolic lockers perform best. These materials resist rust, corrosion, and warping, making them ideal for long-term use in damp conditions. Metal lockers, while durable, should be powder-coated and properly ventilated if used in similar settings.
Installation time depends on the number of lockers, the site conditions, and the type of anchoring required. On average, a small crew can install 30–50 standard lockers per day under normal conditions. Complex layouts or uneven flooring may extend that timeline slightly. Proper planning and pre-installation checks can significantly reduce delays.
In many cases, yes. Most modern locker systems can accommodate electronic or keypad locks if the locker body is compatible. You’ll need to confirm power access and verify mounting hole alignment before installation. Consult a professional supplier like Source Equipment Company Inc. for product options and compatibility recommendations.

Ready to Upgrade Your Process Operations?